

Tucson’s extreme summer heat with 105°F ambient air and 140°F ground asphalt causes severe thermal stress on radiator assemblies. Peak rush-hour idle on Speedway or Broadway drops ram-air cooling to zero, spiking coolant temperatures to 230°F. Brittle plastic end tanks exceed material yield thresholds under pressure, causing micro-cracking, sudden pressure loss, and head gasket failure.
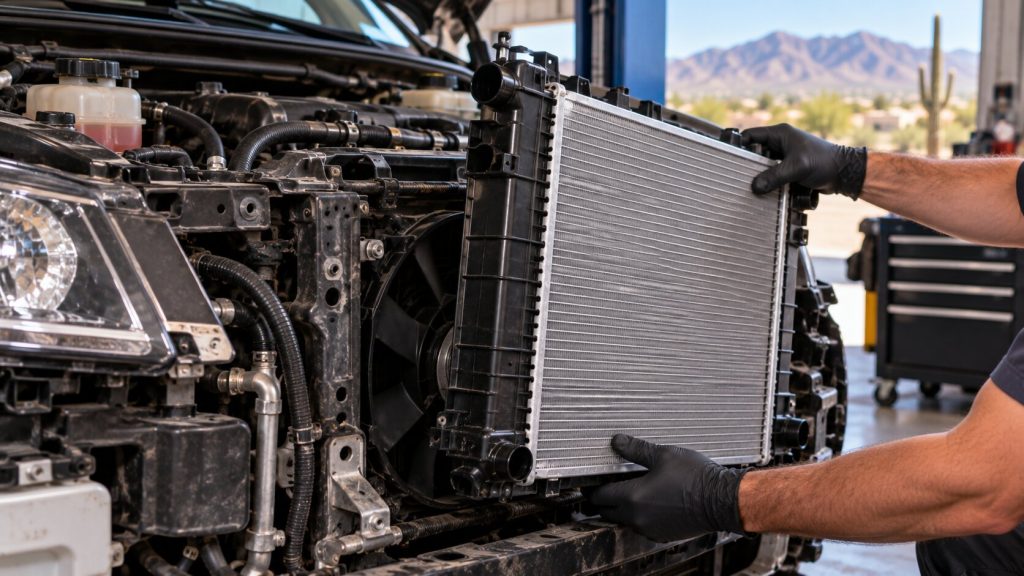
When you commute along busy Tucson corridors like Broadway Boulevard and Speedway Boulevard during peak rush hour, I see your vehicle’s cooling system subjected to brutal thermal stress. When ambient desert temperatures surge past triple digits and asphalt radiates intense heat, I often watch minor cooling flaws quickly escalate into complete engine failure. Understanding how heat impacts composite radiator materials and recognizing early warning signs will help you avoid the costly secondary repairs I routinely see in my shop, like warped cylinder heads or blown head gaskets.
Why Tucson Radiators Fail at 80k–100k Miles
Modern OEM radiators couple a light aluminum core to molded Nylon 66 (PA66-GF30) end tanks using crimped aluminum tabs and ethylene propylene diene monomer (EPDM) gasket seals. In Southern Arizona, I track a very predictable failure timeline for this design:
- PA66 End Tank Embrittlement: I consistently find that sustained exposure to 210°F+ HOAT/OAT coolants combined with extreme thermal cycling degrades the glass fiber matrix within the plastic tanks. The material loses tensile strength, leading to hairline fracture splits I frequently inspect along high-stress points like the upper inlet neck.
- Seam Separation at the Crimped Joint: The expansion differential between aluminum (high coefficient of thermal expansion) and glass-filled nylon causes the internal EPDM gasket to set permanently under tension, resulting in slow, persistent “seam weeping” I catch during routine bay checks.
- Silicate and Phosphate Scaling: When drivers refill cooling systems with Tucson tap water, I see heavy calcium and magnesium minerals introduced (hard water exceeding 200 PPM). These minerals precipitate under high temperatures, clogging the internal 1mm-wide aluminum cooling passages and reducing thermal transfer by up to 40%.
Diagnostic Verdict from the Bay at Campbell Ave
A 2017 Toyota Highlander came into my bay at 843 S Campbell Ave overheating only while sitting at red lights on Ajo Way. The customer reported no visible puddles on their driveway. I hooked up my Stant cooling system pressure tester and pressurized the system to 18 PSI (1.2 bar) while cold. Within 90 seconds, I watched the pressure drop to 13 PSI.
Using a UV leak detection dye and my boroscope, I traced a fine green aerosol spray emerging from a micro-fracture hidden along the lower tank seam behind the fan shroud. The engine was losing system pressure under heat, dropping the boiling point of the 50/50 ethylene glycol mix from 265°F down to 225°F—causing localized boiling (cavitation) around the cylinder walls only when vehicle motion stopped.
How I Perform a Radiator Replacement
- System Depressurization and Environmental Drain: I safely drain the degraded fluid into closed containment units. I personally inspect the drained fluid for oil-emulsion suspension (indicating a blown head gasket) or metallic flecks (water pump impeller wear).
- Cooling Loop Disconnection and Trans-Cooler Isolation: I disconnect quick-release hoses and isolate internal transmission fluid heat exchanger lines to prevent cross-contamination between ATF and cooling fluid.
- Core Extraction and Chassis Isolation Check: I remove the failed core along with the dual electric fan assembly. I always inspect lower rubber isolation mounts; dry-rotted mounts transfer chassis vibration directly to the new core, inducing stress cracks within 10,000 miles.
- New Unit Installation and Torque Specs: I seat a full-depth, drop-in replacement aluminum radiator unit. I re-secure fan shroud assemblies and torque all mounting hardware to OEM specification (typically 7–9 Nm / 62–80 in-lbs).
- Airlift Vacuum Fill and Thermal Cycling: I attach my pneumatic vacuum coolant refiller to draw the cooling loop down to -25 inHg of vacuum. I refill using factory-specified premixed HOAT/OAT coolant (distilled water mix only). Vacuum filling guarantees I leave 0% air pocket retention in heater cores and cylinder head coolant jackets.
Protecting Your Cooling System Against Desert Conditions
To prevent premature heat degradation after I complete a radiator swap, I instruct my customers to follow these strict parameters:
- Never Use Local Tap Water: Tucson groundwater contains high mineral content. I advise always topping off with 50/50 pre-diluted coolant or pure distilled water.
- Routine Fin Debris Extraction: I recommend blowing compressed air from the engine bay outward through the condenser and radiator fins every spring to remove accumulated Sonoran desert silt, bugs, and road grime.
- Replace the Pressure Cap: A fatigued 16 PSI radiator cap that releases at 11 PSI lowers your fluid’s boiling point by roughly 15°F, accelerating thermal creep in traffic.
Stop Thermal Creep Before Head Gasket Failure
If your temperature gauge creeps up at red lights or you smell sweet coolant vapor in your cabin, your radiator is losing pressure under desert heat. Contact our team at Accurate Service Auto Repair. Visit my shop at 843 S Campbell Ave, Tucson, AZ 85719 or call (520) 622-7685 to schedule your radiator inspection and system flush before your next commute.
Frequently Asked Questions
How long does a typical radiator replacement take?
A standard radiator replacement takes between 2 to 4 hours, including system drainage, mechanical installation, vacuum-bleeding the cooling passages, and a 20-minute thermal cycle test.
Can I drive my car short distances if the radiator is leaking?
No. Driving with a leaking radiator drops system pressure, lowering the coolant’s boiling point and risking catastrophic engine block warping or head gasket failure within 3 to 5 minutes of driving.
Why does my temperature gauge spike only when sitting at a red light?
A temperature spike at idle indicates a loss of system pressure, a failed electric fan motor or relay, or clogged lower radiator passages that prevent heat dissipation when ram-air flow drops to zero.
Should I replace my radiator hoses and thermostat at the same time?
Yes. Replacing the thermostat and vulcanized rubber hoses during a radiator replacement is standard practice because those components have endured the same thermal cycles and stress hours as the failing radiator.
